Tie-Dyeing with Mimosa Hostilis Root Bark: A Natural Dye Approach
A small cotton sample, a strained bark bath, and a pattern you can learn to repeat.
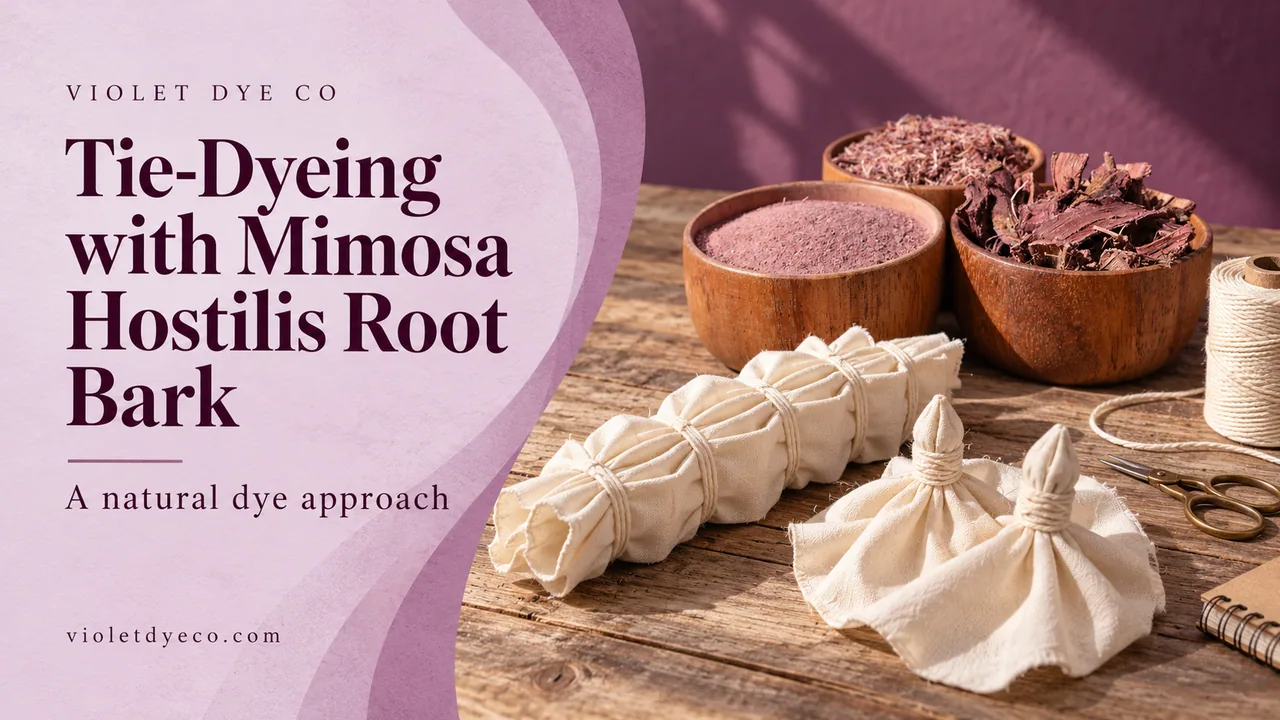
There’s a moment when you undo the bindings and finally see what happened inside the folds. A line appears where the string held tight. A pale circle opens in the middle of the cloth. Somewhere, color has slipped farther into the fabric than you expected.
That reveal is a good reason to try tie-dyeing with Mimosa hostilis inner root bark.
The approach here uses a strained botanical dye bath and tied fabric to explore contrasting areas of color. Start with a small cotton sample, learn how your material behaves, and use that result to plan a larger piece.
How tie-dye works with a bark dye bath
Tie-dye is a form of resist dyeing. Folding and binding fabric restricts where the dye can reach, leaving some areas lighter than others. The pattern depends on the folds, the pressure of the bindings, and the fabric itself.
For this project, the tied bundle goes into one dye bath. The interest comes from the relationship between the exposed cloth and the protected areas inside it.
Mimosa hostilis, also known as Mimosa tenuiflora, has been studied as a textile colorant. A study published online in 2011 tested prepared M. tenuiflora extract on white and indigo-dyed cotton and compared six metal-salt post-mordants. That supports exploring the material, but an extract-based study cannot predict the exact outcome of a home dye bath made from raw root bark.
Treat your first piece as a sample. A successful experiment gives you information about both the color and the pattern.
Choose your fabric and bark
A small piece of lightweight, 100% cotton fabric is a manageable first project. A plain woven square lets you practice the folds without working around sleeves, seams, or a heavy hem.
Check the fiber label before using a garment. Polyester sewing thread may remain a different color from the cotton around it.
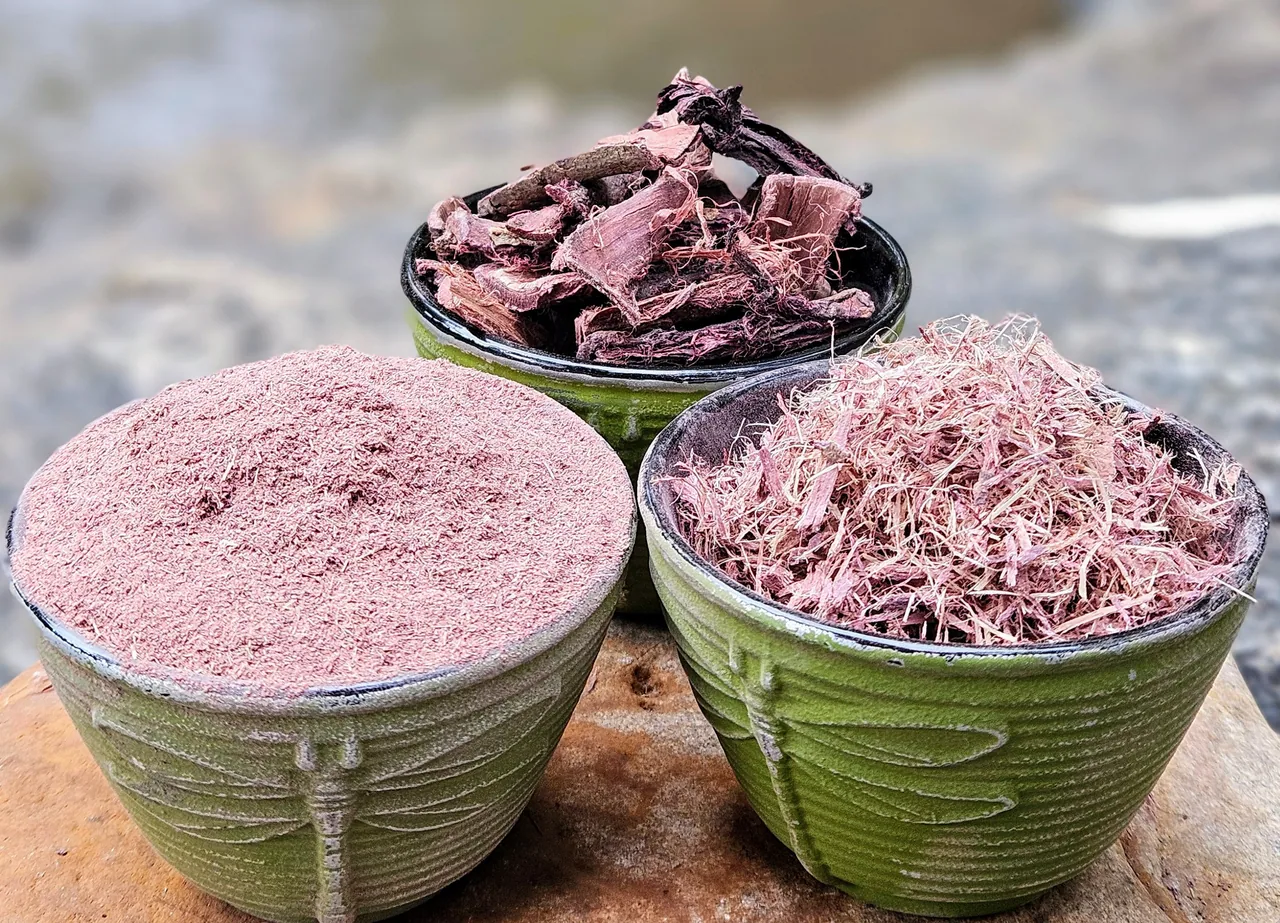
For the bark, we recommend shredded Mimosa hostilis inner root bark. It is our suggested starting form for first-time fabric dyers because it extracts steadily and is easier to strain than fine powder.
Powder and chips are also options, but their handling differs. Our comparison of the three bark forms explains what to consider.
Gather:
- Cotton fabric and an extra scrap for testing.
- Shredded inner root bark.
- A scale and thermometer.
- A stainless-steel dye pot and utensils reserved for craft use.
- A strainer lined with suitable filtering cloth.
- Strong, undyed cotton string.
- Scouring and mordanting supplies appropriate for cotton.
- Gloves, scissors, and a notebook.
Follow the handling instructions for your mordant and other supplies, avoid breathing dust, and keep dye equipment separate from food preparation.
Weigh the fabric before getting it wet
Bark quantities are calculated from the fabric’s dry weight, often called weight of fiber or WOF. Include any test scraps in that total.
Our bark quantity guide discusses starting amounts of 50–100% WOF. For 100 g of dry fabric, that means 50–100 g of bark.
For a smaller experiment, 75% WOF would mean 18.75 g of bark for 25 g of dry fabric. That is a calculation you can use for a trial, not a validated tie-dye formula or a promise of a particular shade.
Record what you use so the sample can guide your next attempt.
Prepare the cotton before tying it
Scouring cleans the fabric more thoroughly than an ordinary quick wash, helping remove substances that can interfere with dye uptake. Follow a cotton-specific scouring process; fabric sold ready for dyeing may already have undergone this preparation.
Mordanting is a separate step. Cotton and linen require different preparation from wool and silk, so avoid borrowing a protein-fiber recipe simply because it also uses “alum.”
Our mordanting guide introduces the subject. For a detailed cellulose-fiber procedure, Maiwa’s cotton mordanting instructions distinguish the tannin-first step from the separate alum and aluminum-acetate methods. Follow one complete procedure rather than combining quantities from several recipes.
Prepare the fabric while it is open, then rinse as your chosen method directs. Keep it evenly damp for folding.
Try a simple pattern
For your first sample, choose one arrangement you can repeat.
Bound circles: Pinch up a small point of cloth and wrap string tightly around its base. Add another binding farther down the gathered section if you want to explore concentric marks. Repeat in a few places.
Pleated bands: Fold the fabric back and forth like a paper fan. Bind the folded strip firmly at intervals. Change the distance between ties on another sample to compare the pattern.
A gathered bundle: Scrunch the fabric into a compact shape and secure it in several directions. This gives you a less regular arrangement of exposed and sheltered folds.
Firm compression helps create a resist. Loose bindings may allow dye into areas you hoped would stay pale. Even tightly bound sections may pick up some color, so don’t assume every protected line will remain bright white.
Photograph the tied sample before dyeing. Once it is unfolded, the photo makes it easier to understand how you produced the pattern.
Prepare and strain the dye bath
Our fabric-dyeing guide uses an overnight bark soak followed by gentle heating and straining. Its starting guidance is an 8–12-hour soak and roughly 1–2 hours of gentle simmering for shredded bark.
Those are starting parameters from our general guide, not independently validated tie-dye timings.
Keep the bark submerged during preparation and record the water volume. Strain the liquid before adding fabric so loose particles do not lodge inside the folds.
Let the strained bath cool enough to handle safely, then load your damp, tied bundle. Use enough liquid to submerge it without packing it tightly against other pieces.
Dye the bundle, then open it
With the damp bundle in the strained bath, gently bring the bath to the general guide’s starting range of 160–180°F / 70–80°C and maintain it for 45–90 minutes. These are approximate starting ranges for your cotton trial, not independently validated tie-dye timings. This is a hot bath below a simmer; use a thermometer.
Keep the bindings in place. Gently turn the bundle as needed without loosening it, and keep it submerged.
Remove the pot from the heat and let the still-tied bundle cool in the dye bath before handling. Give the still-tied fabric an initial rinse, carefully remove the string, then rinse the opened cloth and wash with a gentle detergent. Dry out of direct sunlight.
Judge the result once it is dry. Keep part of the sample as a reference and wash another portion using the care routine you expect to use for the finished item. This gives you a practical comparison of color retention.
What if the result is different from the picture in your head?
Look at color and pattern separately.
If the exposed cloth has useful color but the pattern is faint, try firmer bindings or a simpler fold on the next sample.
If both the tied and untied areas are pale, revisit fabric preparation, bark quantity, and bath conditions. An untied control swatch from the same prepared fabric can help you distinguish a color problem from a binding problem.
If the color leans brown or red-brown rather than purple, record it. Water, fiber preparation, mordant, extraction, and the bark itself all affect the outcome. The color of the liquid is not a reliable preview of the washed, dried textile.
Change one part of the process at a time. You’ll learn more from two comparable samples than from changing the bark amount, mordant, temperature, and folds all at once.
Start with a piece you can learn from
A small tie-dyed square can become a patch, a sample for your notebook, or the beginning of a larger textile project.
Give yourself one piece to practice on before committing a favorite garment. Keep the sample, the photograph of the bindings, and a few notes together. Next time, you’ll have somewhere useful to begin.
Explore Violet Dye Co’s root bark, or contact us with your fabric type and dry weight if you need help choosing a form and quantity.