Making Lake Pigment from Mimosa Root-Bark Dye: A Small-Batch Trial
Compare a brushstroke of bark dye with a paint sample made from material collected from the same bath.
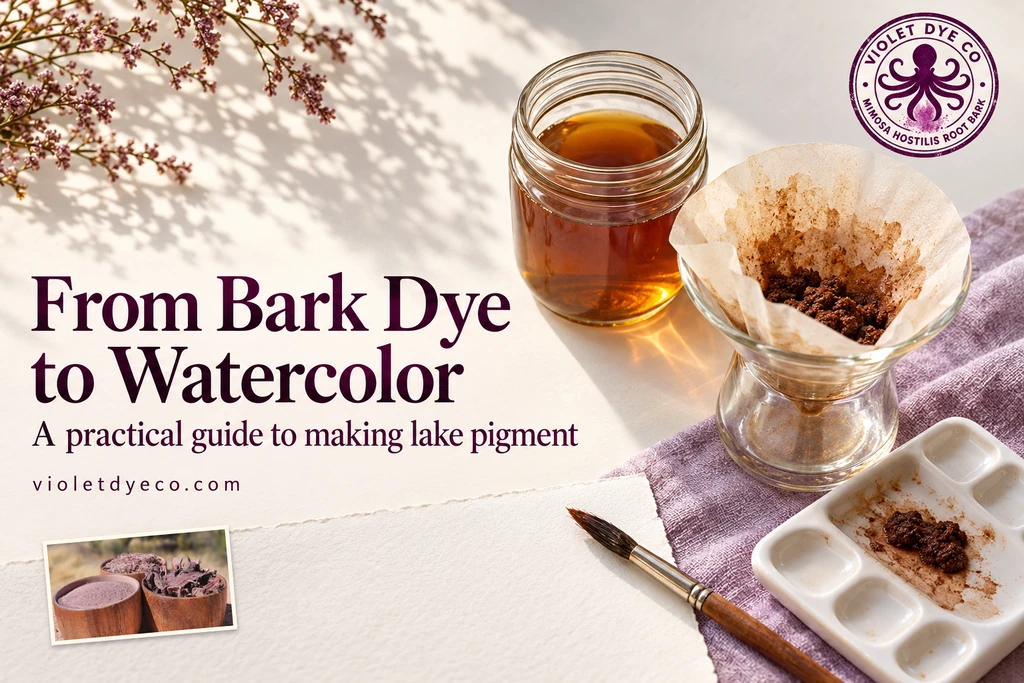
Before adding anything to your jar of Mimosa dye, save a brushful. Paint a stripe on watercolor paper and label it plain bark dye. Later, you can place a second stripe beside it: a watercolor sample made from the colored precipitate you collected.
This is an experimental starting method, not a validated recipe for a particular Mimosa shade or pigment yield. Violet Dye Co has not tested this procedure with its bark. It uses Mimosa hostilis inner root bark—an older botanical name for Mimosa tenuiflora, known in Mexico as Tepezcohuite. See our guide to the names of this tree.
A published Osage-orange lake-pigment method uses 10 grams of alum and 5 grams of soda ash per litre of dye liquid. The small quantities below follow that proportion, but applying it to Mimosa—and specifying potassium alum—is an adaptation, not proof that these are ideal amounts for this bark. Start with a small portion of your dye bath rather than the whole pot. [1]
What you’ll need
- 200 mL warm, well-filtered Mimosa root-bark dye, plus a brushful for comparison
- 2 g potassium alum, labelled potassium aluminum sulfate dodecahydrate
- 1 g anhydrous sodium carbonate, commonly sold as soda ash
- A scale accurate to at least 0.1 g
- A roomy, heat-safe container and a separate small cup
- A stirrer, funnel, paper coffee filters, and distilled water
- A palette or glass slab, palette knife, prepared artist’s gum arabic solution, brush, and watercolor paper
- Splash goggles, gloves, and equipment reserved for dye or paint work
Check the chemical labels. Baking soda is sodium bicarbonate, not sodium carbonate. Hydrated washing-soda products are also not necessarily interchangeable with anhydrous soda ash by weight. Potassium alum and aluminum sulfate are different compounds, even though craft instructions sometimes call both “alum.”
Follow the handling instructions supplied with your materials. Avoid breathing powder dust, keep the work area away from food preparation, and leave plenty of room in the container for foaming. Never seal the container while the ingredients are reacting.
Start with a useful dye sample
If you’re preparing the liquid from bark, follow our fabric-dyeing guide, stopping after extraction and straining.
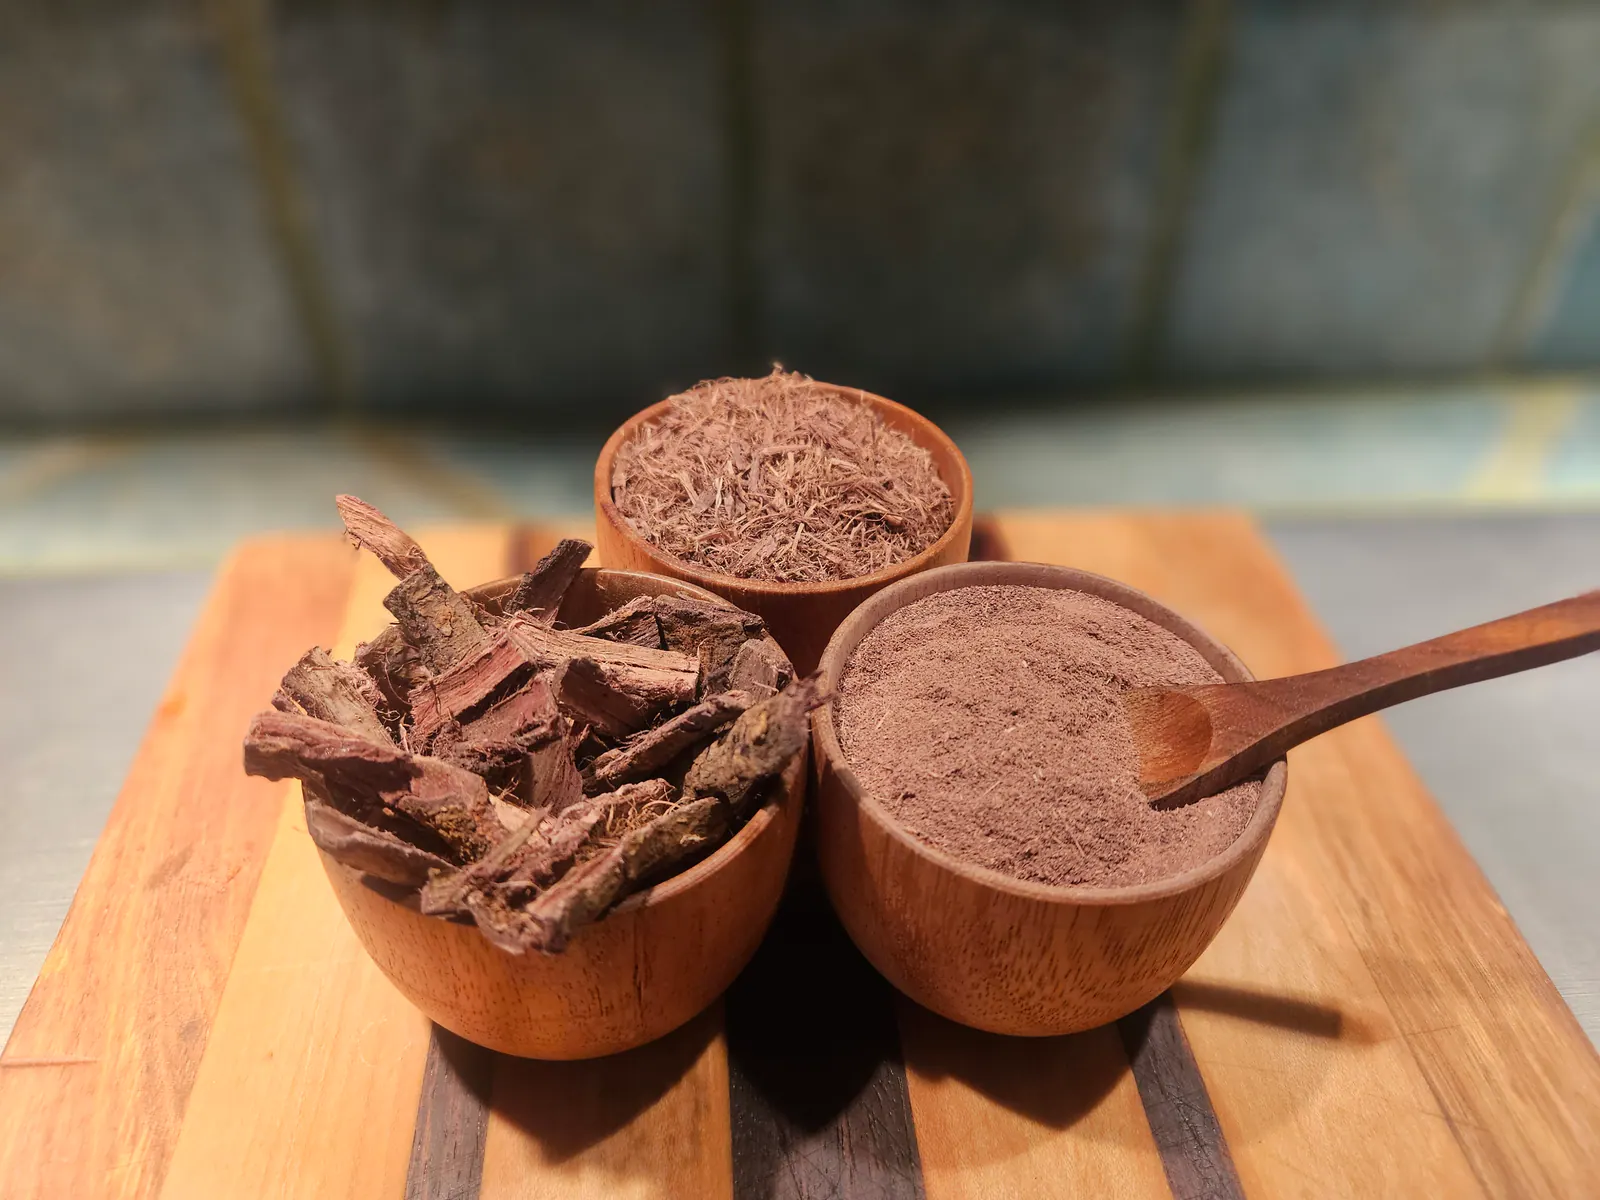
Shredded bark is a convenient starting point because it is easier to strain than fine powder. Our guide to bark forms explains their handling differences.
For your first comparison, take the sample before introducing fabric, iron, or other color modifiers. A used bath can still be interesting, but record that it was used: fabric may have removed some color, and mordants or other materials may have entered the bath.
1. Filter the dye and paint your first stripe
Let visible grit settle, then filter the liquid to remove bark fibers and suspended debris. At this stage, keep the liquid.
Brush a little onto watercolor paper and let it dry. Label it with the bark form, extraction date, and any additions to the bath.
Measure 200 mL of the filtered liquid into your heat-safe container. It should occupy less than half the container’s capacity.
2. Dissolve the measured ingredients separately
Stir the potassium alum into the warm dye until dissolved.
In the separate cup, dissolve the measured soda ash in a little warm water. Record the added water volume along with the exact product names so you can understand what went into the trial.
These quantities are experimental starting amounts. The concentration and composition of your bark extract have not been standardized. The source calls its reagent “alum” without specifying its chemical formulation; specifying potassium alum here makes this proposed trial unambiguous, not validated. [1]
3. Combine slowly and observe
With the container open, add the soda-ash solution gradually while stirring gently. Pause if the mixture foams.
Watch for cloudiness, fine particles, or a change in color. Alum-and-carbonate lake-making methods can produce effervescence and an insoluble precipitate, but the appearance of sediment alone does not establish how much useful colored pigment you have made. The cited madder reconstruction uses potash (potassium carbonate), not soda ash; it supports the general process, not an identical formulation. [2]
Do not keep adding chemicals simply to make the upper liquid colorless. Some color may remain dissolved.
4. Let the mixture settle
Leave the container undisturbed overnight, somewhere it cannot be mistaken for a drink or reached by children or pets.
Look at the bottom before moving it. If sediment has formed, gently pour off much of the upper liquid without losing the settled material.
If little has settled, filter a small sample first. That lets you evaluate the result without committing more dye or chemicals.
5. Collect and wash the precipitate
Pour the remaining slurry through a coffee filter supported in a funnel. This time, the solid is the material you are collecting.
Rinse it several times with small portions of distilled water, allowing each portion to drain. The cited practitioner method recommends three or more filter rinses to help remove soluble residues. That is guidance for the washing process—not a guarantee that every batch is fully washed after a fixed number of rinses. [3]
Keep notes on the rinsing. White crystalline deposits appearing as the material dries can indicate that soluble residues remain.
Make a small watercolor sample
Take a small portion of the washed, damp material and place it on your palette. Work in a little prepared artist’s gum arabic solution with a palette knife.
Test a brushstroke before adding binder to the whole batch. The amount needed depends on the pigment paste and the concentration of your prepared binder. Working with a small sample lets you adjust it without committing everything. [4]
Paint a stripe beside the plain-dye sample. Draw part of the wet stripe into a lighter wash with a clean, damp brush, then let it dry.
Compare the two:
- What color remains after drying?
- Does the paint form a reasonably even wash?
- Does it show visible particles or grain?
- Does the dry mark rub off easily?
If it rubs off, try a little more binder in a fresh small sample. Record the change rather than assuming the sediment itself is unusable.
Let the remaining washed pigment dry promptly, protected from direct sunlight and contamination. Avoid creating airborne dust when handling dry material. This guide does not establish a shelf life or preservation method for stored wet paste.
If dry pigment needs breaking up, use dedicated paint-making equipment and avoid dust-producing dry grinding. Working a small dampened sample with a palette knife is enough for the first comparison; this guide does not establish a grinding time or finished particle size.
Record the result—not just the recipe
Label your samples with:
- Bark form and source
- Whether the bath was fresh or used
- Extraction details and water source
- Exact chemicals and measured amounts
- Added water and rinsing steps
- Binder used
- Color and handling on dry paper
A dark jar is not a promise of violet paint. A collected precipitate is not automatically a strong pigment, and an attractive first swatch does not establish lightfastness.
What the trial gives you is a comparison: the dye you began with, the material you collected, and the paint sample you made from it.
For what may be happening chemically—and what historical lake-making does and does not tell us about Mimosa—continue with What Is a Lake Pigment? The Chemistry and History of Dye into Paint, the companion article in this series.
Handling the leftovers
Keep the decanted liquid and washings separate from food and household materials. Follow the chemical suppliers’ instructions and local wastewater or waste-disposal guidance. “Plant-based” does not, by itself, establish that a mixture is suitable for the drain or compost.
Sources
- Hand Papermaking — A Warm Gold: Lake Pigments in Papermaking. Source of the Osage-orange proportions, not a validated Mimosa formulation.
- Making and Knowing Project — Lake Pigments from Madder Root. Historical reconstruction using potash, not soda ash.
- Ecology of Color — How to Make a Lake Pigment. Practitioner guidance on collecting and washing pigment.
- University of Brighton — Making Pigment from Plants. Practical pigment preparation, handling, and gum-arabic paint guidance.