Mimosa Hostilis Melt-and-Pour Soap: A Small Color Test
A botanical experiment for first-time makers
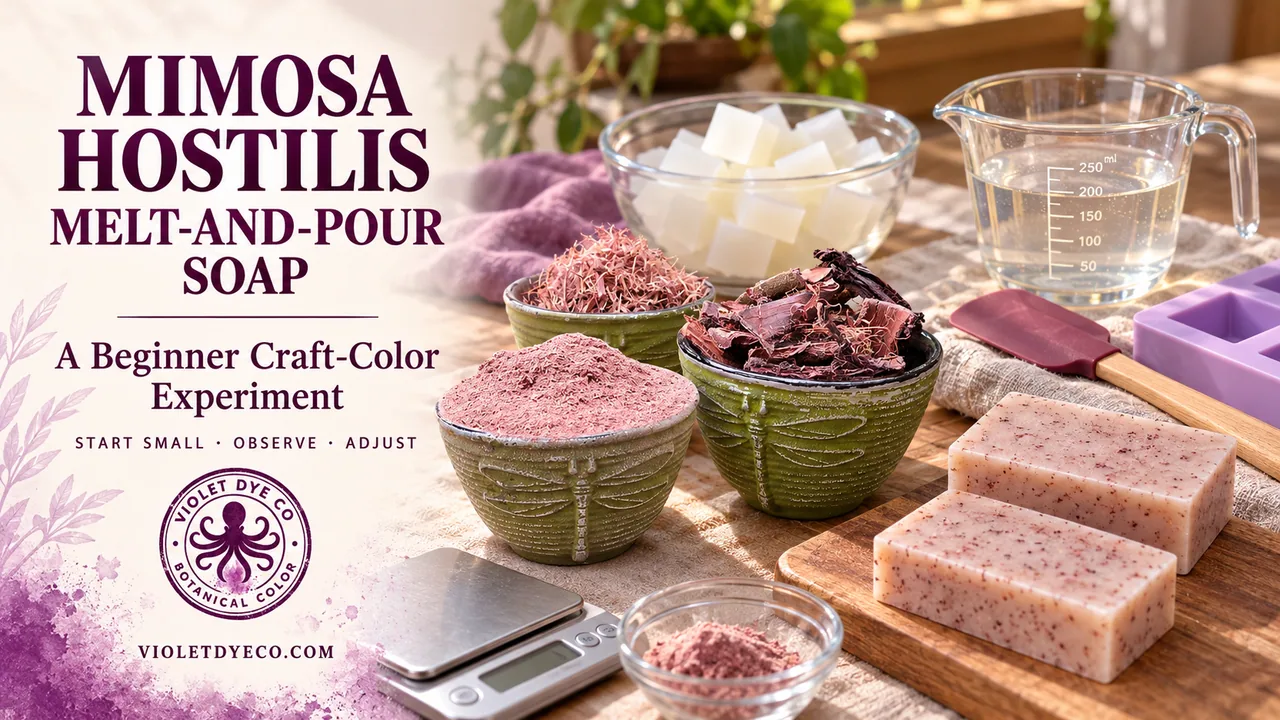
You do not have to formulate soap from scratch to experience the satisfaction of making a bar that is distinctly your own.
With a ready-made melt-and-pour soap or cleansing base, you do not mix raw sodium hydroxide or wait through the multiweek cure associated with cold-process soap. Bases vary in composition. Follow the instructions for the one you choose: cut it, melt it carefully, add compatible ingredients within its manufacturer's limits, pour it into a mold, and let it set.
Simple does not mean automatic. You still make decisions about the base, the amount of botanical powder, the scent, the mold, the temperature, and when to pour. You observe how the material behaves and adjust the next batch from what you learn.
That is real making.
This is a small craft-color test, not a validated formula for skin use. Violet Dye Co supplies root bark for legal craft applications, not ingestion or internal use. We have not verified a Mimosa-specific skin-use rate for this melt-and-pour method. Before using, giving away, or selling a finished bar for skin contact, confirm ingredient suitability with qualified cosmetic-safety guidance and follow your chosen base’s directions.
One base. One botanical. One observation.
Use this first bar to notice dispersion and color, not to declare a repeatable shade or prove that the bar is suitable for skin use.
What Melt-and-Pour Soap Is—and What It Is Not
A ready-made melt-and-pour base is designed to be remelted and customized. It is a useful starting point for beginners, for small creative projects, and for makers who want to explore color and design without handling raw lye.
It is not a blank mixture that can accept unlimited oil, water, fragrance, herbs, and other additions. The base is already formulated. Supplier guidance varies, but excess additives can compromise qualities such as lather, texture, and hardness. Follow the limits provided for the specific base you buy.
For your first batch, resist the temptation to add everything at once. Use the bark powder as the one experimental variable. Once you know how it behaves in your chosen base, you can make deliberate changes instead of trying to diagnose five additions at the same time.
Why Powder Is the Right Bark Form
Violet Dye Co offers Mimosa hostilis inner root bark in powder, shredded, and chip forms. All three are useful craft materials, but they are not interchangeable in this project.
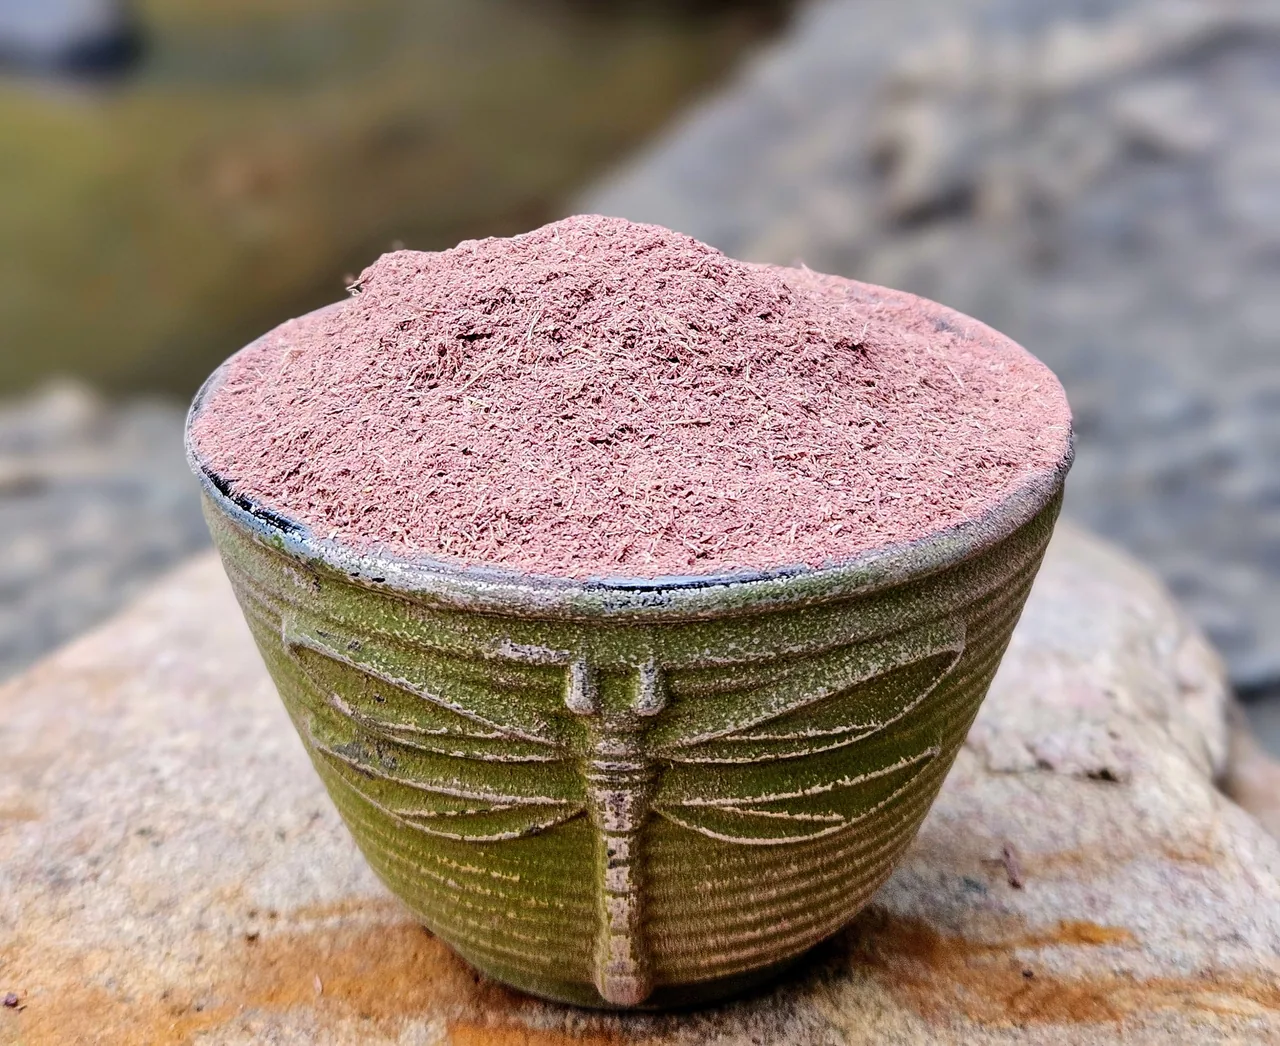
Of the three forms, finely milled powder is the practical choice for a small dispersion test. Shredded bark and chips contain larger pieces and are not appropriate for direct addition in this beginner method.
For this craft-color test, choose Mimosa hostilis inner root bark powder.
Before You Begin: What Color Should You Expect?
The dry powder cannot tell you the exact color of the finished soap.
The result will depend on the soap base, the amount of powder, the natural batch, and the process you use. An opaque base will also display a botanical differently from a clear one. Without a documented test in the exact base, do not promise a particular shade.
Do not promise yourself—or a customer—an exact violet simply because the material is associated with purple dyeing. Soap is a different chemical environment from a textile dye bath.
The purpose of the first test is not to achieve a perfect predetermined shade. It is to learn what this powder does in this base under the conditions you used.
What You Will Need
For one small test batch:
- 4 ounces (113 grams) of unscented melt-and-pour soap base
- A very small, measured amount of finely milled Mimosa hostilis inner root bark powder for a craft test
- The dispersing medium recommended by your soap-base or colorant supplier, if any
- A small heat-safe cup for making the dispersion
- A heat-safe container suitable for melting your chosen soap base
- A digital scale and silicone spatula or spoon
- One or two small silicone soap molds
- A spray bottle of isopropyl alcohol for surface bubbles, only if recommended by the base manufacturer
- Soap-safe fragrance, optional and used only within the base manufacturer's recommended rate
- Gloves, an apron, and a clean work surface
There is intentionally no Mimosa-specific usage rate in this article. A precise recipe would imply a level of testing that we cannot document. Record any craft test amount you use, keep the batch small, and do not interpret a successful-looking bar as proof of skin safety or commercial suitability.
A note about alcohol
Isopropyl alcohol is used in some melt-and-pour projects to disperse compatible dry colorants or break surface bubbles. It is highly flammable. Keep it away from open flame, hot burners, sparks, and other ignition sources, and follow the product label.
If the manufacturer of your chosen base recommends a different dispersing method, follow its instructions.
01 / prepare
Step 01: Prepare the Mold and Workspace
Set the mold on a level surface where it can remain undisturbed. Measure the bark powder before melting the soap so you are not searching for tools while the base begins to cool.
Use clean, dry equipment and follow the handling instructions for your chosen base.
02 / disperse
Step 02: Disperse the Bark Powder
If your base manufacturer permits a dry botanical colorant and recommends a dispersing method, use that method with a very small, measured amount of powder. Stir until no dry pockets remain.
Use no more dispersing liquid than the supplier's method calls for. The goal is an even suspension, not extra liquid in the finished base.
Pre-dispersing a compatible powder can help reduce dry specks and clumps, but it does not make plant material dissolve. Fine particles can remain in the bar and may settle.
03 / measure
Step 03: Cut and Weigh the Soap Base
Cut the base into small, similarly sized cubes so it melts evenly. Weigh out 4 ounces (113 grams) and place it in your heat-safe melting container.
A scale is more useful than judging by the size of the block. Recording the weight lets you repeat the test and compare it with the next one.
04 / heat
Step 04: Melt Slowly
Melt the soap according to the manufacturer's instructions. If using a microwave, work in short intervals and stir gently between them. If using a double-boiler method, keep water and steam out of the soap container.
Stop heating when the remaining small pieces can be dissolved by gentle stirring. Do not allow the base to boil. Overheating can drive water from the base and may cause it to boil over.
05 / combine
Step 05: Add the Powder Dispersion
Stir the prepared bark dispersion once more, then add it gradually to the melted base. Fold it through the soap with slow, steady movements, scraping the bottom and sides of the container.
Avoid aggressive whisking. It adds bubbles without improving the dispersion.
Look at the soap in good light. The liquid color may appear darker than the finished bar, especially in an opaque base. If the mixture already contains visible sediment, resist adding more powder to chase a darker shade.
06 / optional
Step 06: Add Fragrance—If You Want It
This step is optional. An unscented test bar makes it easier to evaluate the bark itself.
If you add fragrance, use only a product identified as suitable for the intended application and remain within the usage rate provided by both the fragrance supplier and the soap-base manufacturer.
Do not assume that every essential oil is automatically safe for every person or at every concentration.
07 / pour
Step 07: Pour the Soap
Pour slowly into the mold. If your base manufacturer recommends it, a light spray of isopropyl alcohol can help break bubbles on the surface.
Leave the mold undisturbed until the soap is fully cool and firm. Follow the setting guidance supplied with your base.
08 / observe
Step 08: Unmold, Observe, and Record
Once the bar has hardened completely, release it gently from the mold.
Before deciding whether the test “worked,” look closely:
- Is the color even or speckled?
- Did powder settle toward the bottom?
- Does the bar feel firm?
- Is the texture comfortable in the hand?
- Did the fragrance remain balanced?
- How does the color look after the bar has rested overnight?
Write down the base, weight, powder amount, dispersing liquid, fragrance amount, heating method, and result. A photograph taken in neutral daylight will give you a better comparison for the next batch than memory will.
Melt-and-pour soap does not require the multiweek cure of cold-process soap, but the bar should be fully cooled and set before handling or evaluating. Cooling does not establish suitability for skin use. Follow the base manufacturer's instructions.
Wrap It Promptly
Many melt-and-pour bases contain humectants that attract moisture from the air. In humid conditions, droplets can form on the surface—a harmless but unattractive effect often called glycerin dew or soap sweating.
Once the bar is fully cool and dry, fully enclosing melt-and-pour soap can help limit glycerin dew. Follow the base supplier's packaging and storage guidance.
Common First-Batch Mistakes
Adding too much powder
More powder can mean more suspended plant material, settling, or uneven distribution. Do not exceed the soap-base manufacturer's additive limit, and do not infer skin safety from appearance alone.
Adding extra carrier oil “for moisture”
The prepared base already has a specified formulation. Excess additions can compromise lather, texture, or hardness. Skip extra oil unless the base manufacturer provides an allowance.
Adding water
Do not add water unless the manufacturer of your base explicitly instructs you to do so. Follow its heating and handling directions instead.
Overheating
Melt only as much as necessary. Boiling or repeatedly reheating the base can affect its texture and appearance.
Expecting textile-dye color
Mimosa hostilis behaves differently in soap than it does in a dye bath. Treat the soap result as its own material outcome.
Can You Use Shredded Bark or Chips?
Not directly in this beginner method.
Do not improvise by dropping bark pieces into melted soap. Any separate extraction or infusion would require its own formulation, stability, preservation, and safety assessment.
Powder keeps the first experiment focused and measurable.
If You Plan to Give Away or Sell the Soap
A successful-looking craft test is not the same as a safety-assessed commercial formula. If the bars will be sold or distributed, determine the labeling, ingredient declaration, product classification, insurance, and safety requirements that apply where you operate. In the United States, whether a cleansing bar is regulated as “soap,” a cosmetic, or a drug depends on its composition and intended claims.
Avoid medical claims and do not claim that the bark treats, heals, or prevents a condition. This tutorial concerns its use as a botanical craft colorant, not as a therapeutic ingredient.
The Part You Make Yourself
Beginning with a prepared base does not make the result meaningless or somehow less handmade.
The point is not to make every ingredient from its rawest possible state. The point is to become attentive to the material in front of you: to notice when it is fluid enough to pour, how the powder moves through it, how the color changes as it cools, and what you would do differently next time.
Making something by hand changes your relationship with it. The finished bar holds more than ingredients. It carries a sequence of choices you can remember because you made them.
At Violet Dye Co, we think craft is a way of knowing. Technique matters. Measurement matters. So does the judgment that grows when you watch closely and let one small experiment teach you what comes next.
That is why this test begins with four ounces instead of four pounds.
Make one bar. Pay attention. Then make the next one yours.
Continue Exploring
- Explore Mimosa hostilis inner root bark powder
- Read our separate cold-process soap guide—its oil-weight rates do not transfer to melt-and-pour bases.
- Learn how to identify quality inner root bark
- Read the Violet Dye Co story